How to Set Nintendo Switch Proxy Server Settings Safely
Start with the answer: check compatibility before editing
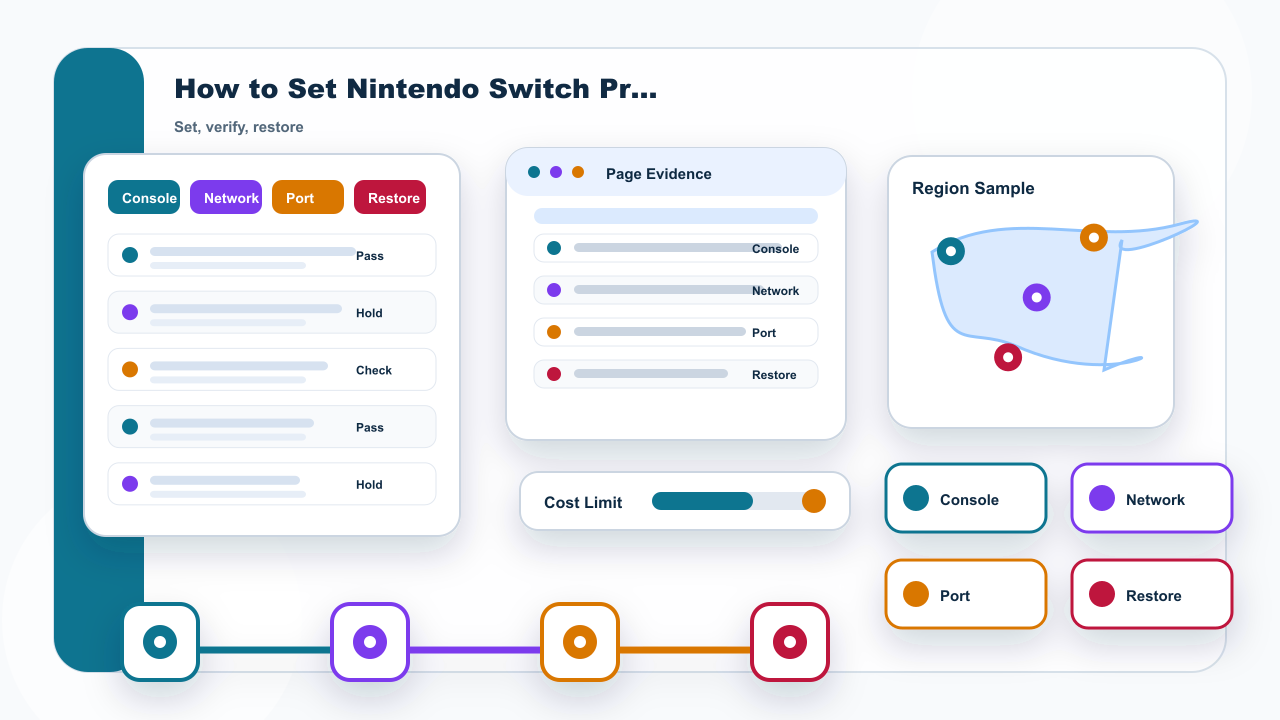
A Nintendo Switch proxy setting should start as a compatibility check, not as a promise that every assigned endpoint will work directly on the console. The useful question behind proxy server switch is whether the saved network can accept the proxy server, port, and authentication details you have been assigned, and whether you can return to the previous network state if the test is unclear.
Official Nintendo Support lists the proxy option inside the registered network settings, so the device path is real. The risk is not the menu itself. The risk is entering fields without knowing whether the console, router, or trusted network layer can handle the required authentication method. That is why the first step is to record the original network and decide what you are testing before changing anything.
For IPIPD, the product language in this article stays limited to static residential addresses and dynamic residential addresses. A static residential address can help when an authorized review needs comparable conditions across a short session. A dynamic residential address is better when separate public checks should be treated as separate samples. Neither option should be presented as a game-access, latency, account, or outcome guarantee.
Prepare the fields before opening network settings
| Check | How to verify |
|---|---|
| Device path | HOME Menu, System Settings, Internet, Internet Settings, registered network, Change Settings |
| Proxy fields | Proxy server, port, and auto-authentication need to match the assigned endpoint |
| Compatibility check | Confirm whether the console or a trusted network layer can handle the required fields |
| Static fit |