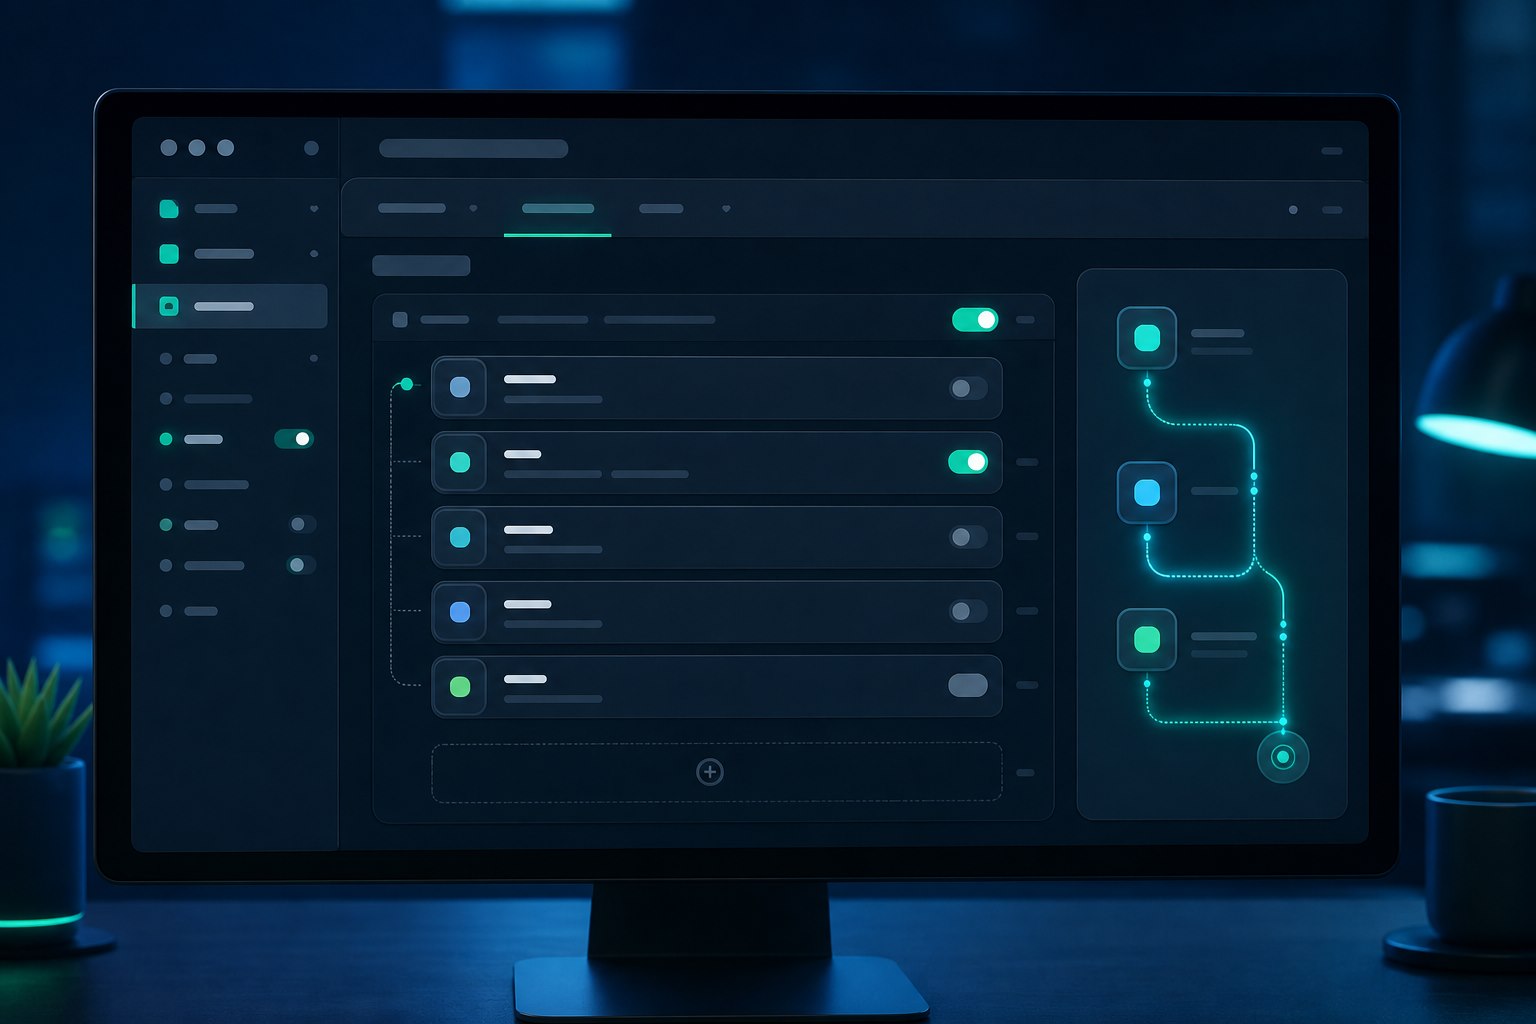
Many users can connect a normal proxy. They may also have a residential proxy ready. But once they try to combine everything inside a local proxy client, the route becomes unstable, the exit region does not match, or the target website still sees the wrong environment.
In most cases, the issue is not simply that one proxy address is broken. The real problem is that the traffic path has not been designed clearly.
A v2rayN proxy chain gives your traffic a planned route. Instead of sending all requests through one single node, you can make the local client pass traffic through a front proxy, a running node, and finally a residential exit proxy. For workflows that need stable location signals, consistent sessions, regional page checks, or controlled access environments, this setup can be much easier to diagnose than a random group of proxy nodes.
If you are still learning the basic connection process, start with the IPIPD tutorial center. If you are preparing a small proxy test, compare available options on the IPIPD static residential proxy pricing page. This guide focuses on the configuration logic, verification method, and common mistakes behind a stable chain setup.
Quick Answer: What Is a v2rayN Proxy Chain?
A v2rayN proxy chain is a routing setup where traffic follows a defined sequence before it reaches the target website.
The simple model is:
local application -> v2rayN client -> front proxy or running node -> residential exit proxy -> target website
The most important question is not "how many nodes did the request pass through?" The better question is: "Which exit environment does the target website finally see?"
That is why a connection test alone is not enough. A node can connect successfully while the final exit region, session behavior, or target page result is still wrong.
Front Proxy vs Exit Proxy: The Key Difference
In a chain setup, a front proxy and an exit proxy sit in different positions.
A front proxy is closer to the entry point. It is used before the main running node. In practice, it can help when your local environment must first enter another network route before the rest of the proxy workflow can operate.
An exit proxy is closer to the target website. It is the final environment seen by the website you access. When a static residential proxy is used as the exit, the target website should see the residential network characteristics, region, and session behavior of that exit.
Use this table as a simple rule:
Setup Type
Position
Best Fit
What to Check
Front proxy
Before the main running node
Entering a prepared network route before the main connection
Whether the entry route connects
Exit proxy
After the main running node
Making the target website see a stable residential exit
Whether the exit region and session are correct
If your goal is to make the target website see a fixed residential environment, focus on the exit proxy first. If your goal is to make the local client enter a prepared network path before routing onward, focus on the front proxy.
What to Prepare Before Configuration
Before configuration, prepare four pieces of information. This small checklist prevents most avoidable mistakes.
Item
Why It Matters
How to Check
v2rayN client
Imports nodes, manages groups, and applies routing
Use a recent version and confirm the interface opens normally
Working main node
Carries the core connection route
Test it alone before adding a chain
Static residential proxy
Provides the stable final exit environment
Check host, port, username, password, and region
Exit verification tool
Confirms what the target website sees
Compare region, carrier signal, latency, and page result
One detail matters more than beginners expect: the alias must be exact. If the proxy alias is missing, duplicated, misspelled, or changed after configuration, the chain may not be generated as expected.
How to Set Up a v2rayN Proxy Chain
The example below uses a static residential proxy as the final exit. Different client versions may use slightly different interface names, but the routing logic is the same.
Step 1: Test the Residential Proxy Alone
Do not start with a full chain. First, test the residential proxy by itself. Confirm that the host, port, username, and password are correct.
If your proxy service requires an overseas network environment, confirm that the local environment can support the connection. IPIPD also explains this point in its setup guidance. You can use the IPIPD proxy setup guides as a starting point before adding a more complex route.
Step 2: Create the Residential Proxy as a Separate Node
Add the residential proxy as its own node in the client. Give it a clear alias, such as "US Static Residential Exit" or "Germany Residential Exit."
This alias is not just a label for your memory. The group setting will reference it later. Keep the alias unique, simple, and stable.
Step 3: Create a Business Group
Put the running node you want to use into a dedicated group. Treat the group as a business route.
If you have multiple tasks, such as regional page checks, account environment testing, ad landing page review, or public page monitoring, create separate groups. Mixing every node into one group makes troubleshooting much harder.
Step 4: Add the Exit Proxy Alias in the Group
Open the group setting and find the exit proxy field. Enter the exact alias of the residential proxy node you created.
This is the key step. You are not pasting the entire proxy address into the group field. You are referencing the existing node alias. If the alias contains an extra space, a typo, or a duplicate name, the route may fail silently or produce the wrong exit.
Step 5: Save, Apply, and Test Again
After saving the configuration, restart the client or reapply the configuration. Then test the chain.
Do not rely only on latency. A latency result only proves that part of the route is reachable. It does not prove that the target website sees the residential exit you intended.
How to Verify That the Chain Works
This routing setup should be verified at three levels.
First, check the exit region. Use a diagnostic page to confirm country, city, carrier, and network signals. If you purchased a static residential proxy for one region, the exit should not jump unpredictably.
Second, check session consistency. Open the same target workflow several times. Watch whether language, currency, location content, page version, or account behavior stays consistent.
Third, check the real target page. A proxy lookup page can show a correct region while the actual business website still returns a wrong-region page, a verification page, or incomplete content.
If you are preparing a buying decision, use a small real-world validation cycle before scaling. This static residential proxy pre-purchase checklist is useful for testing geo accuracy, session stability, timeout behavior, and cost per usable result.
Common Failure Reasons and Troubleshooting Order
If the chain does not work, do not immediately replace the proxy. Check the route layer by layer.
1. Check the Alias First
Most setup problems begin with the alias. Confirm that the exit proxy alias exists, has no extra spaces, is not duplicated, and matches the group setting exactly.
2. Check the Active Group
Make sure the node you are actually using belongs to the group where the exit proxy was configured. If you edit one group but run traffic through another group, the exit will not change.
3. Test the Residential Proxy Separately
Take the residential proxy out of the chain and test it alone. If it cannot connect by itself, the chain cannot fix it.
If you still need to evaluate whether static residential proxies fit your workflow, start from the IPIPD homepage and review the product and tutorial sections before purchasing.
4. Check Core and Protocol Compatibility
Different cores and protocols may not support every front proxy or exit proxy combination in the same way. For the first test, use a straightforward setup. After the basic chain works, add more complex protocol combinations only when needed.
5. Read the Logs
The client icon only tells you that the local state looks connected. Logs tell you where the problem happens: entry route, running node, exit proxy authentication, or target website connection.
For a general technical background, Wikipedia provides a useful overview of what a proxy server does between a client and a destination server.
When This Setup Makes Sense
A proxy chain is most useful when the exit environment must be controlled, repeated, and diagnosable.
Good-fit scenarios include:
Regional page verification with a fixed residential exit.
Public page monitoring that needs consistent location signals.
Ad landing page review across target markets.
Account environment testing where session stability matters.
Multi-project workflows where each route needs its own group and logs.
Poor-fit scenarios include:
Casual browsing without a fixed exit requirement.
Workflows without a prepared network environment.
Attempts to ignore platform rules or access limits.
Complex routes with no notes, logs, or verification records.
The value of this setup is not "hide everything." The value is controlled routing, clearer diagnostics, and more stable business testing.
Best Practice for Beginners
If this is your first chain setup, start small.
Use one running node and one residential exit. Verify the exit region. Check the target page. Confirm session behavior. Record the result. Only then add backup exits, additional groups, or more target regions.
This approach may feel slower, but it creates a route you can actually explain and troubleshoot. When a business workflow depends on stable access, a simple route with clean logs is better than a complex route nobody can debug.
For ongoing use, keep a small configuration record:
Record Item
Why It Helps
Group name
Shows which task owns the route
Running node
Identifies the main route layer
Exit proxy alias
Confirms the final residential exit
Target region
Prevents wrong-market testing
Test page result
Proves whether the route works
Failure notes
Speeds up future troubleshooting
Frequently Asked Questions
Do I need a residential proxy for a v2rayN proxy chain?
No. A chain is a routing structure. A residential proxy is only one possible exit type. Static residential proxies are useful when the workflow needs a stable region, session continuity, and residential network characteristics.
Can I use both a front proxy and an exit proxy?
Yes, but beginners should not start with both at once. First make a single exit proxy route work. Then add a front proxy if the network design requires it.
Why does the exit region not change after setup?
Check the exit proxy alias, the active group, and whether the residential proxy works by itself. Many failures come from a mismatch between the alias and the group setting.
Will a proxy chain slow down the connection?
It can. Longer routes add more connection points, so latency and failure probability may increase. Verify the exit first, then optimize speed based on the target region and real page behavior.
Is this chain setup suitable for long-term business use?
Yes, when the proxy source is reliable, the use case is compliant, the configuration is documented, and the workflow is tested with real target pages. Do not scale a chain just because one connection test succeeds.